从0开始的VSCode+GitHub的工作环境架设!–以Windows10 64位中文版为例(二)
在完成上一章之后,相信你已经配好了VSCode的中文环境.
下面我们要来配置VSCode使其可以跟Git很好地结合起来,并引入一些扩展工具,使你在跟GitHub上的代码仓库交互时更顺手和舒适.
首先要做的,就是在Windows上安装Git.
1. 安装Git for Windows
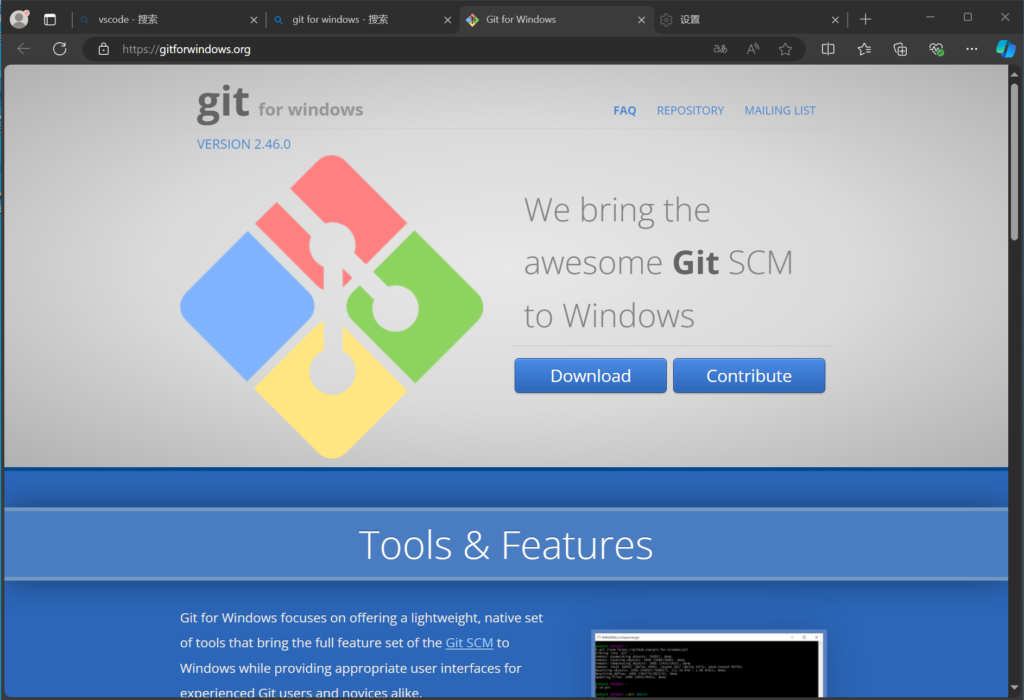
我们可以从下面的链接进入到git for windows的官网,从这里安全地下载安装包.
点击下面链接,等出现页面后,点击页面中的”Download”按钮, 开始下载.
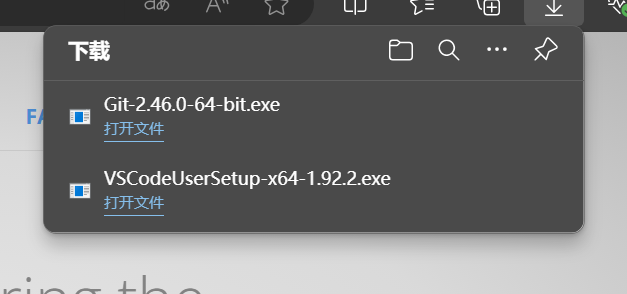
下载完成后,打开这个安装包.
安装这个程序会用到管理员权限,如果弹出了UAC(用户控制警告)窗口,请点击是来允许安装包运行.
最终用户许可协议,直接点下一步表示你接受.

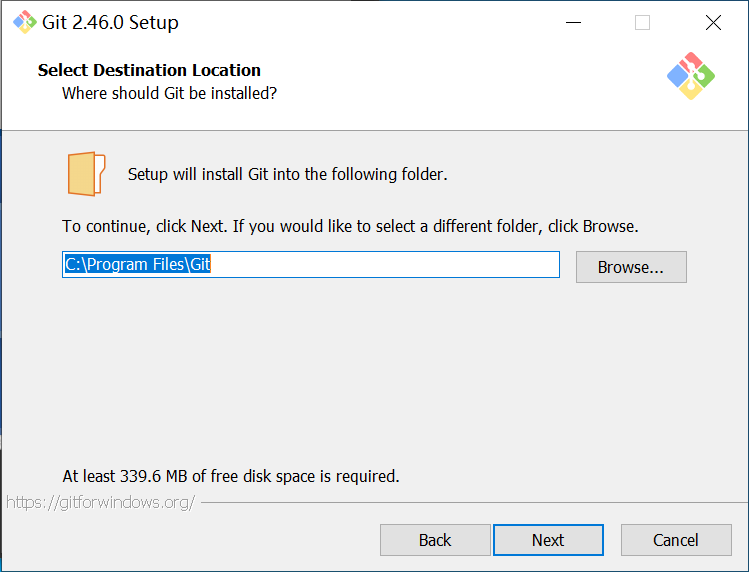
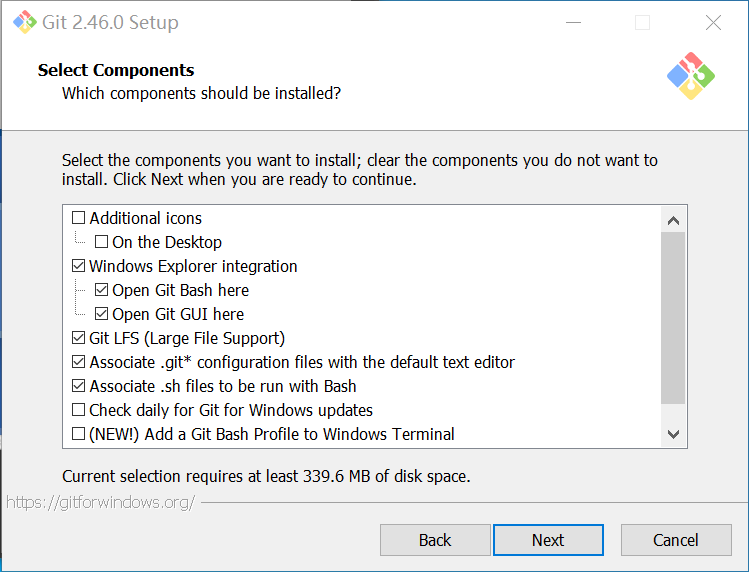
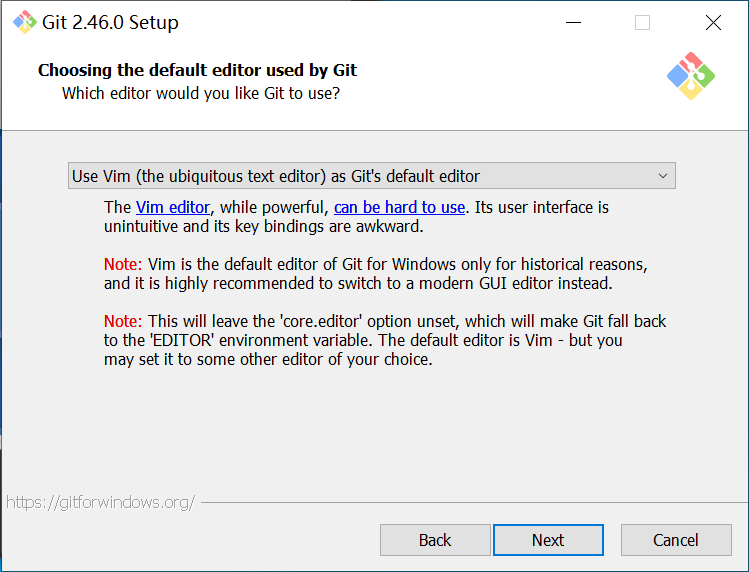
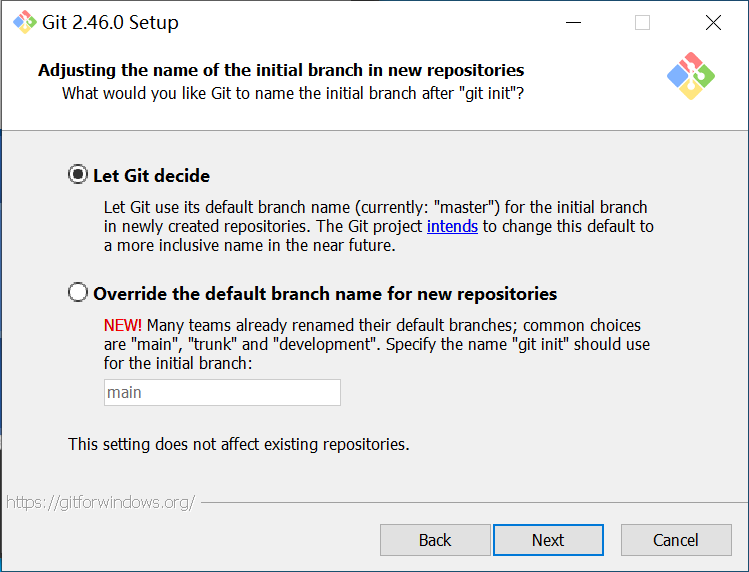
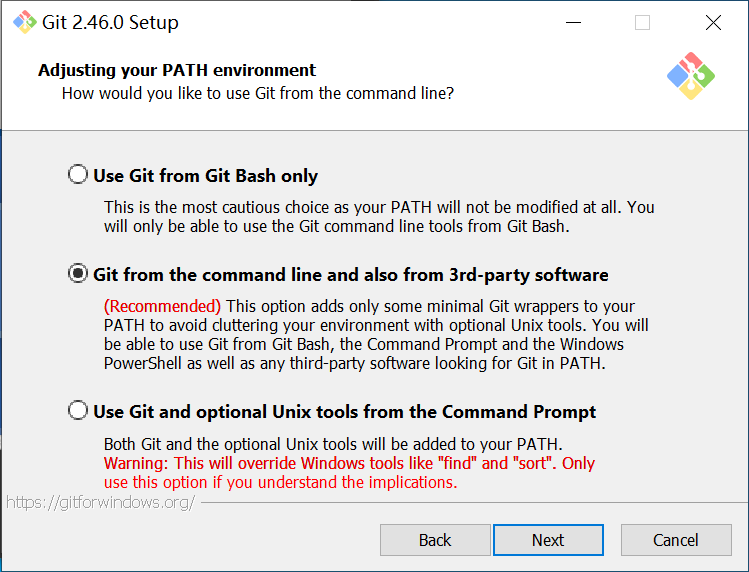
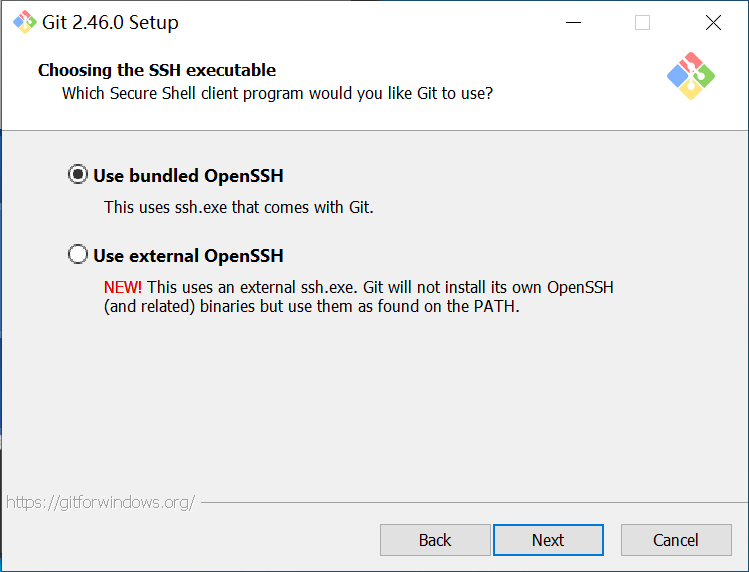
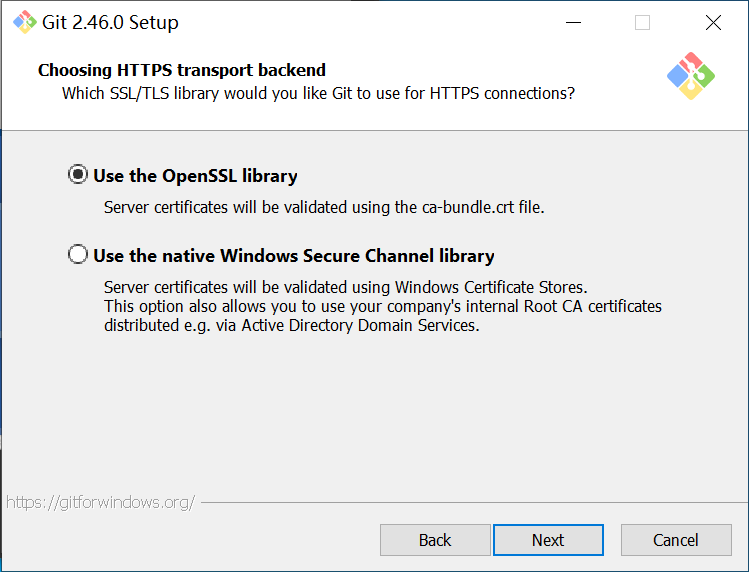
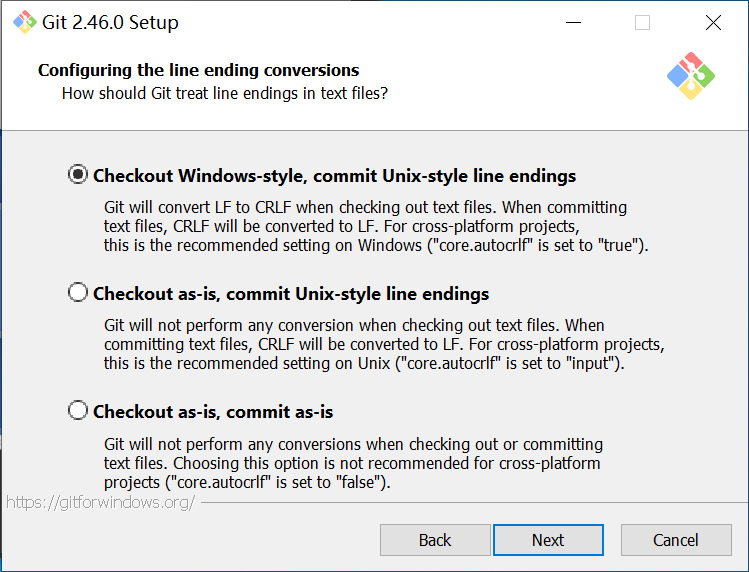
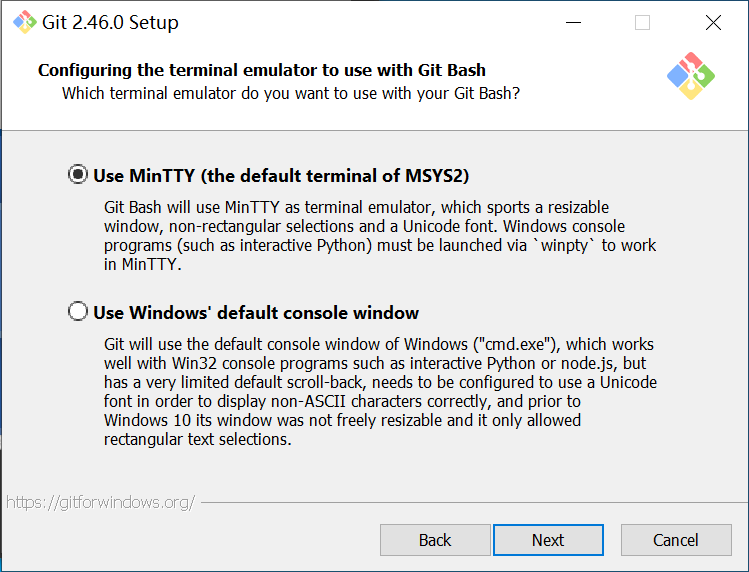
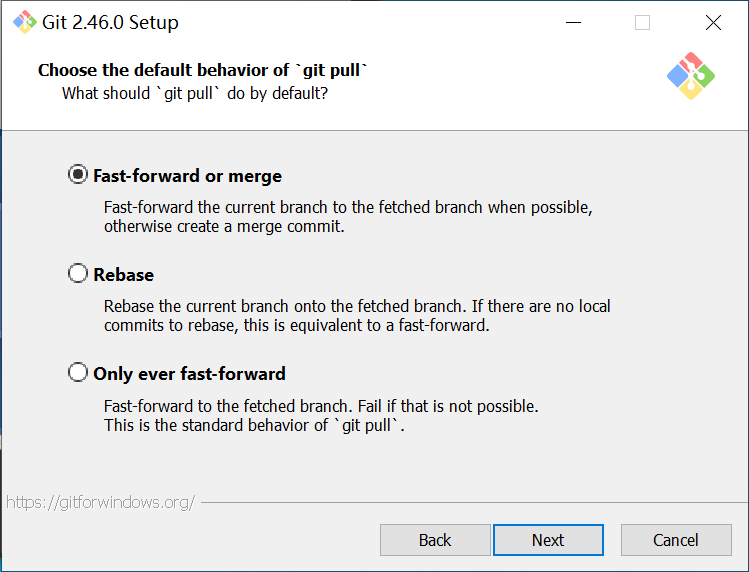
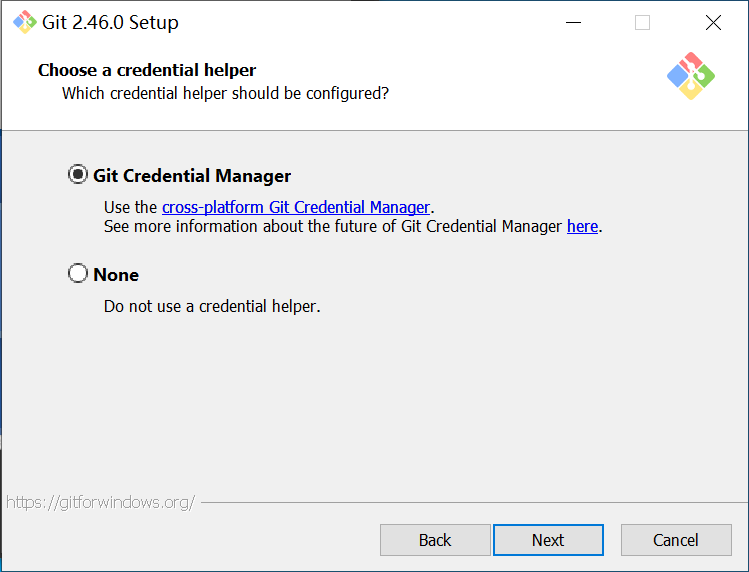
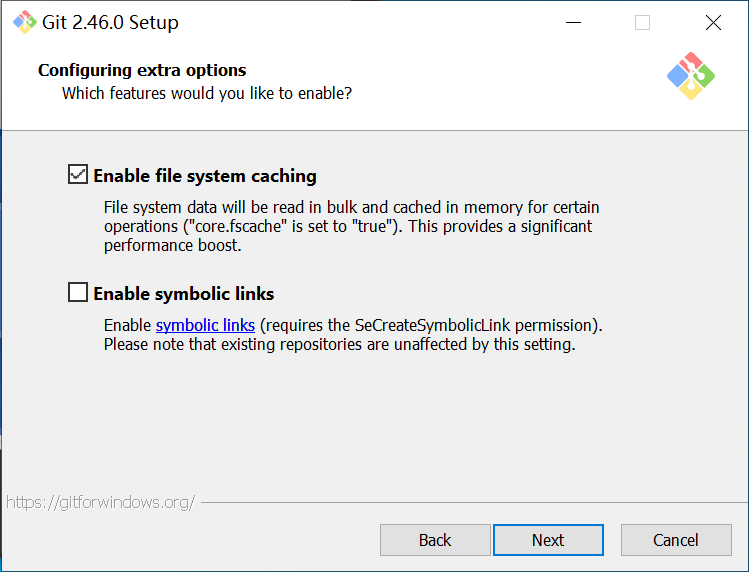
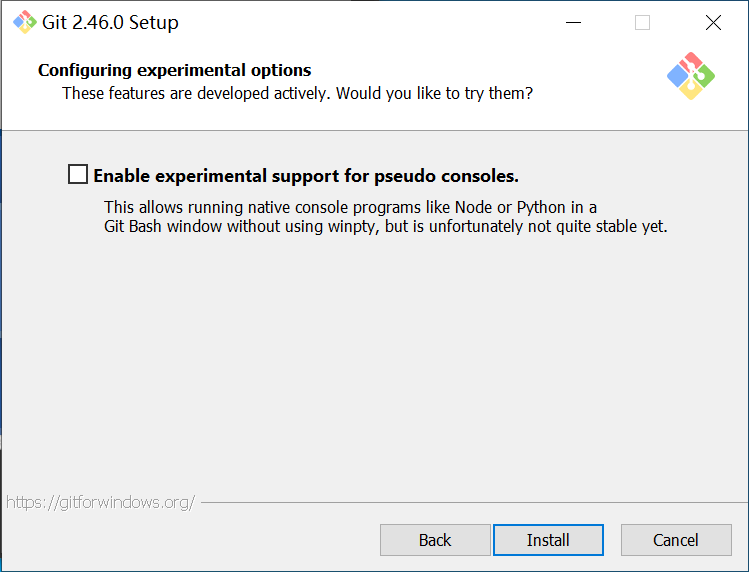
基本上这里一路下一步就可以了.除非你已经很了解Git,你需要对你的Git环境进行一些自定义.不然一路无脑下一步就好.
Vim大法好(拖走)
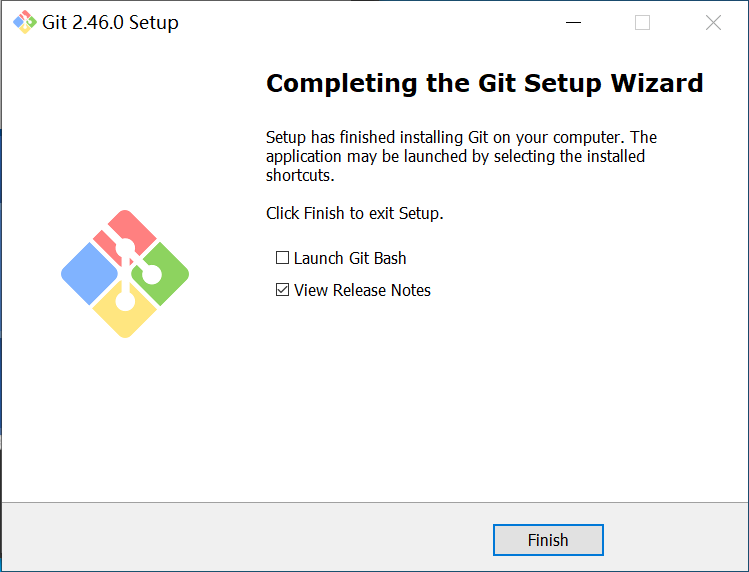
安装好了之后直接关闭窗口就好.
2. 安装Git相关VSCode扩展程序
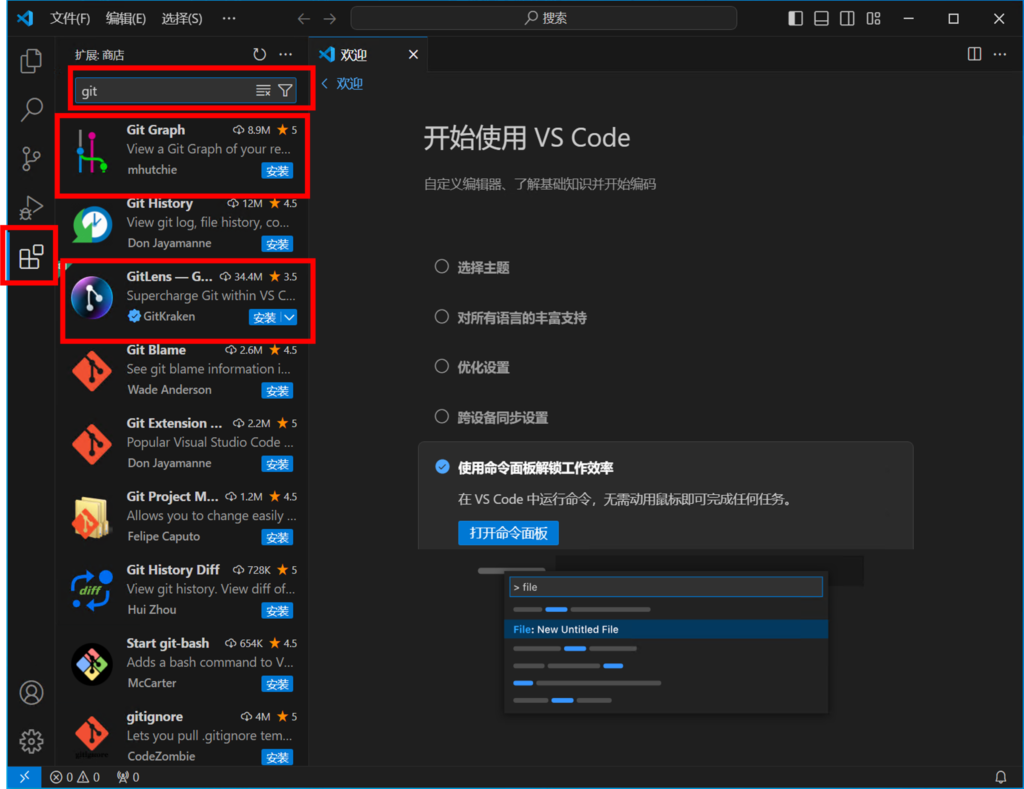
下面我们打开VSCode,在左侧边栏中找到扩展应用,然后再在搜索框中输入”git”, 从候选里面分别找到下面的应用,我们给它一一点击安装按钮.
| 扩展名称 | 作用 |
| Git Graph | 它提供了丰富的代码库图形化功能,可以从它生成的树状图直观地了解代码库当前的状态. |
| GitLens | 它拓展了代码提交历史的查看界面,可以看到谁因为什么原因更改了哪些内容. |
| GitHub Pull Requests | 它支持直接在VSCode窗口内审批代码的合并请求 |
| Start git-bash | 它提供一个VSCode窗口内的命令行小窗,让你需要执行git命令时不用切出去造成操作的割裂感. |
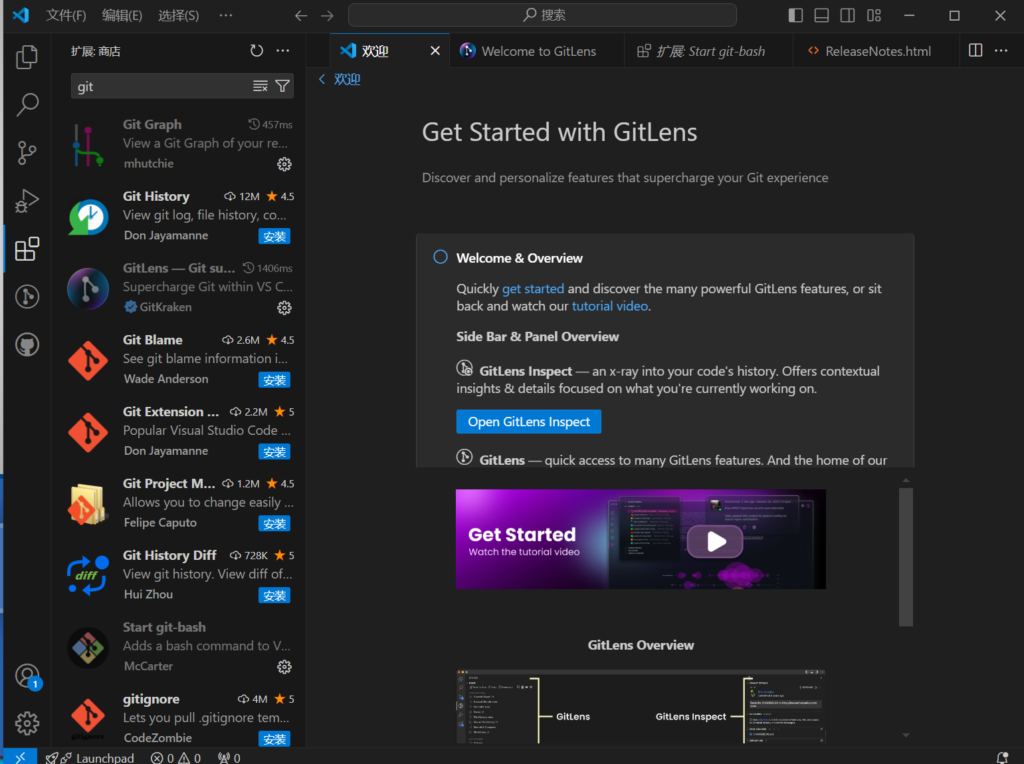
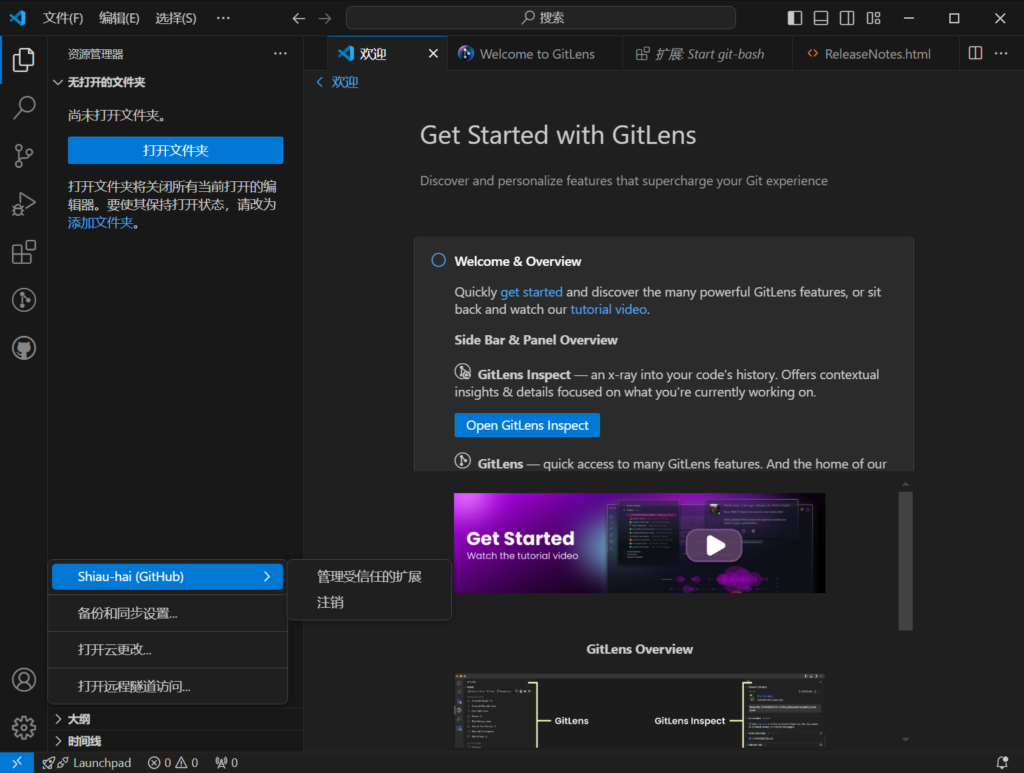
当上面四个扩展都装好之后,你的VS Code窗口应该已经比刚才的家徒四壁稍微热闹了一些.像下面这样.
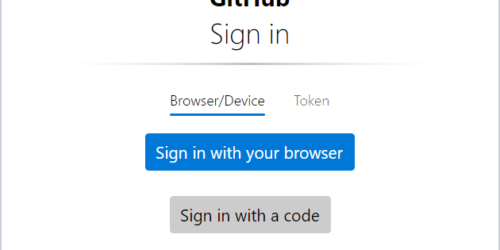
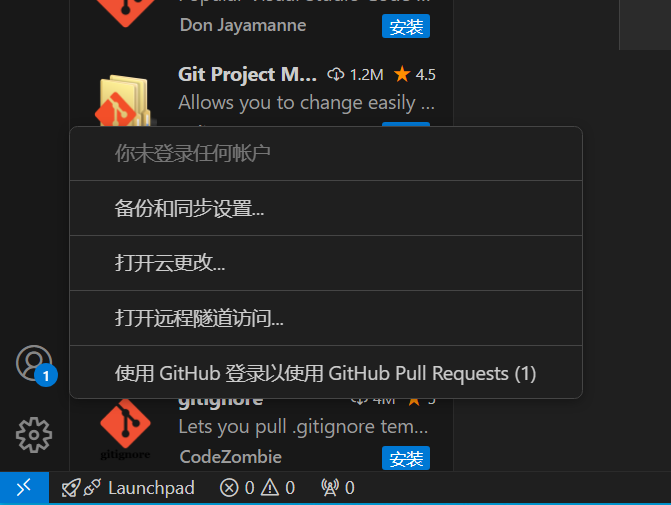
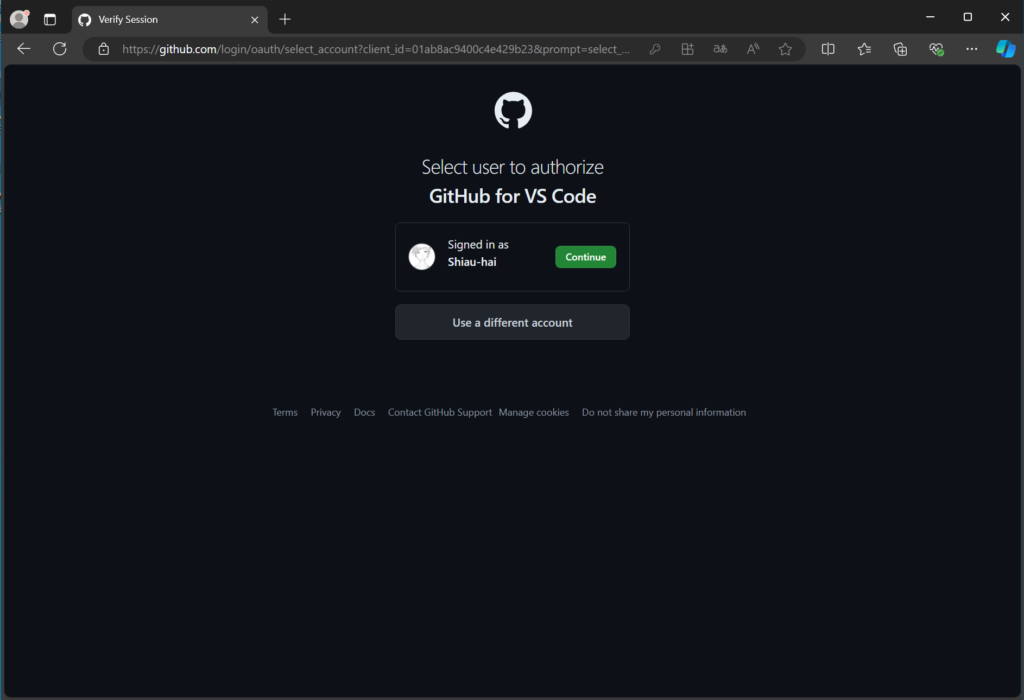
你应该已经注意到,窗口左下角设置按钮上方的用户账户按钮有了个气球蓝点.这里收纳着关于用户账户的通知信息和功能菜单.我们点击这里,然后选中”使用GitHub登录以使用GitHub Pull Request”
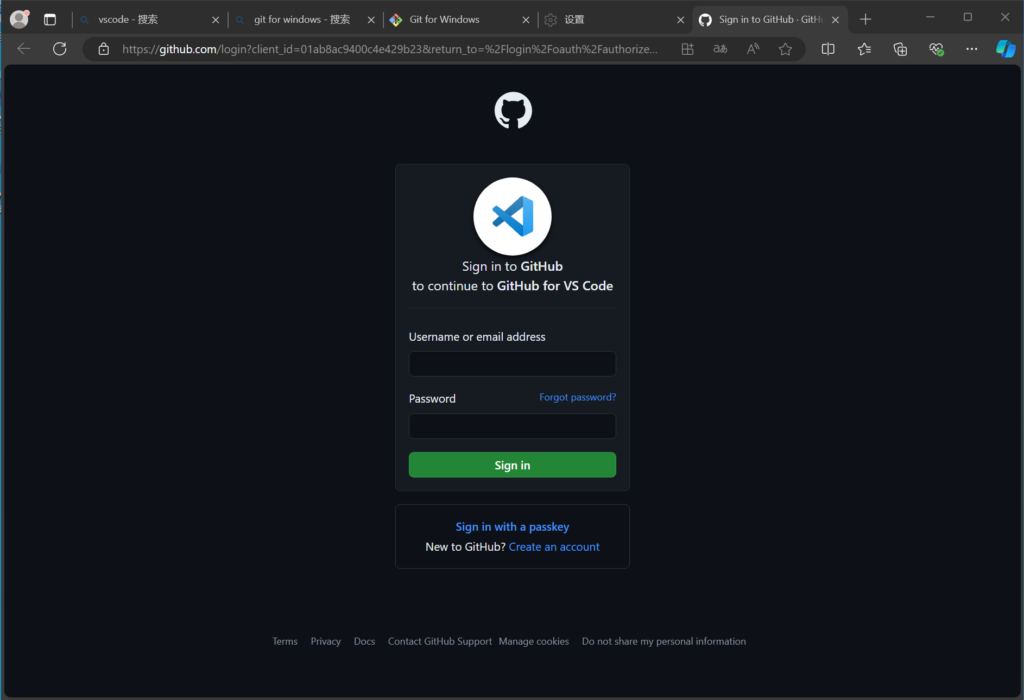
接下来我们要对VS Code进行授权,以允许VS Code访问你的GitHub账号.
如果你已经有一个GitHub账号了,请在弹出的页面中登录它.
如果你还没有GitHub账号的话,去注册一个.GitHub账号的注册流程不在此教程的讨论范围内故此省略.
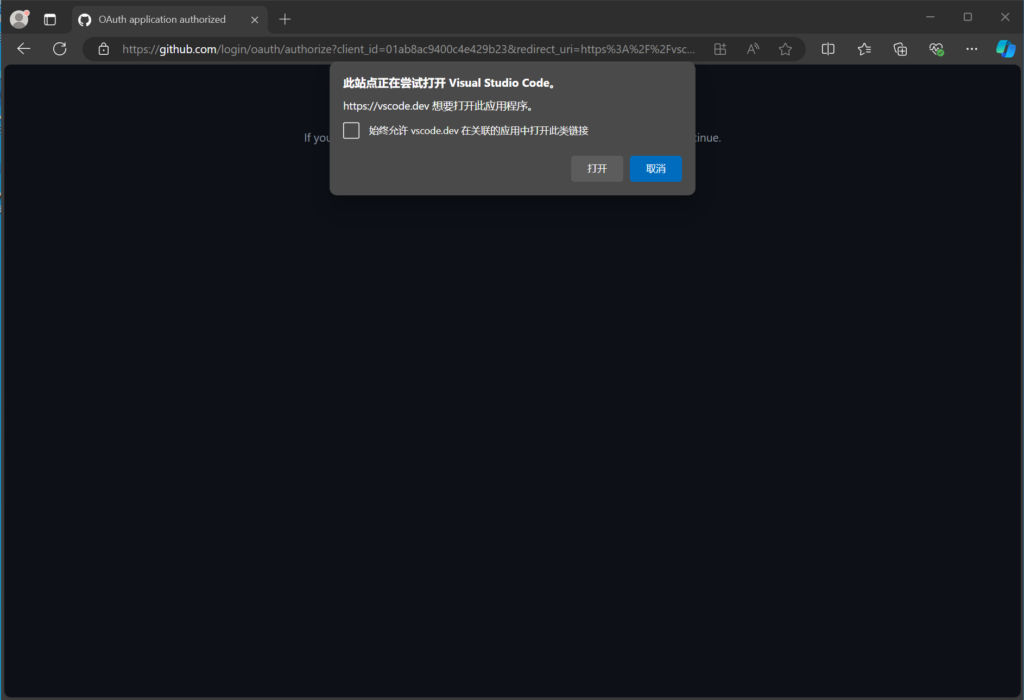
当你输入完账号密码后,在下一个页面会显示你将允许VS Code访问的这个账号.确认这个账号拥有你所在的项目组的代码仓库的授权.因为这对你拉取代码仓库到本地非常重要.如果你不确定这个账号是否拥有足够的权限访问代码仓库,请截图并发给项目负责人.确认完成后,点击”Continue”来继续操作.
然后认证通过后,GitHub会自动调用VS Code的接口,所以你会看到下面的窗口弹出.点击”打开”,就会自动回到刚才的VS Code窗口.
然后再看右下角,点击用户账户按钮,应该已经显示了你目前登录的GitHub账号的名字.
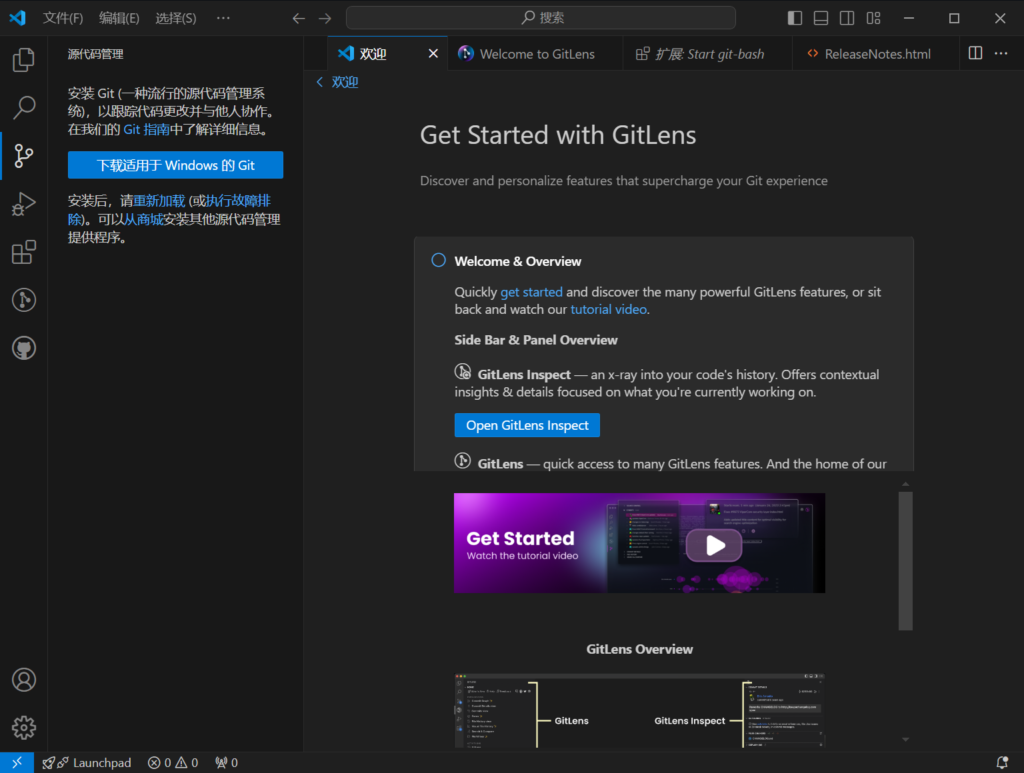
然后我们选择放大镜下面那个左侧边栏按钮,这个电子回路一样的按钮就是Git的边栏按钮了,记住它,你会经常点到它的.如果你已经安装了Git for Windows却仍然看到下面的这个提示你”下载适用于Windows的Git”,那么请关掉VS Code重新启动VS Code.
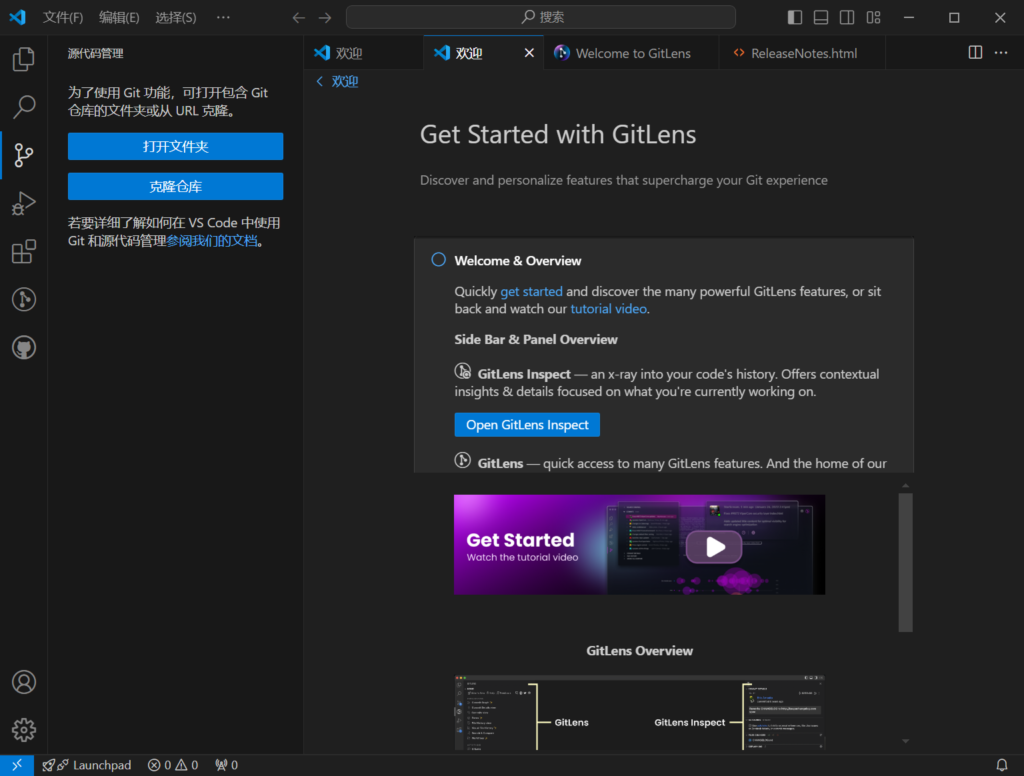
重新启动VS Code之后再点击左边栏的Git按钮,你应该会看到下面两个按钮.”打开文件夹”和”克隆仓库”
这样一来我们就做好了克隆代码仓库到本地的准备了.